Production
Production
It is necessary to create a design and draw it
Develop patterns with a professional experienced seamstress
Adapt the patterns for sewing clothing from fabric to patterns for sewing a frame product from thick leather, as the patterns for sewing clothing are different and not as accurate as the leather requires
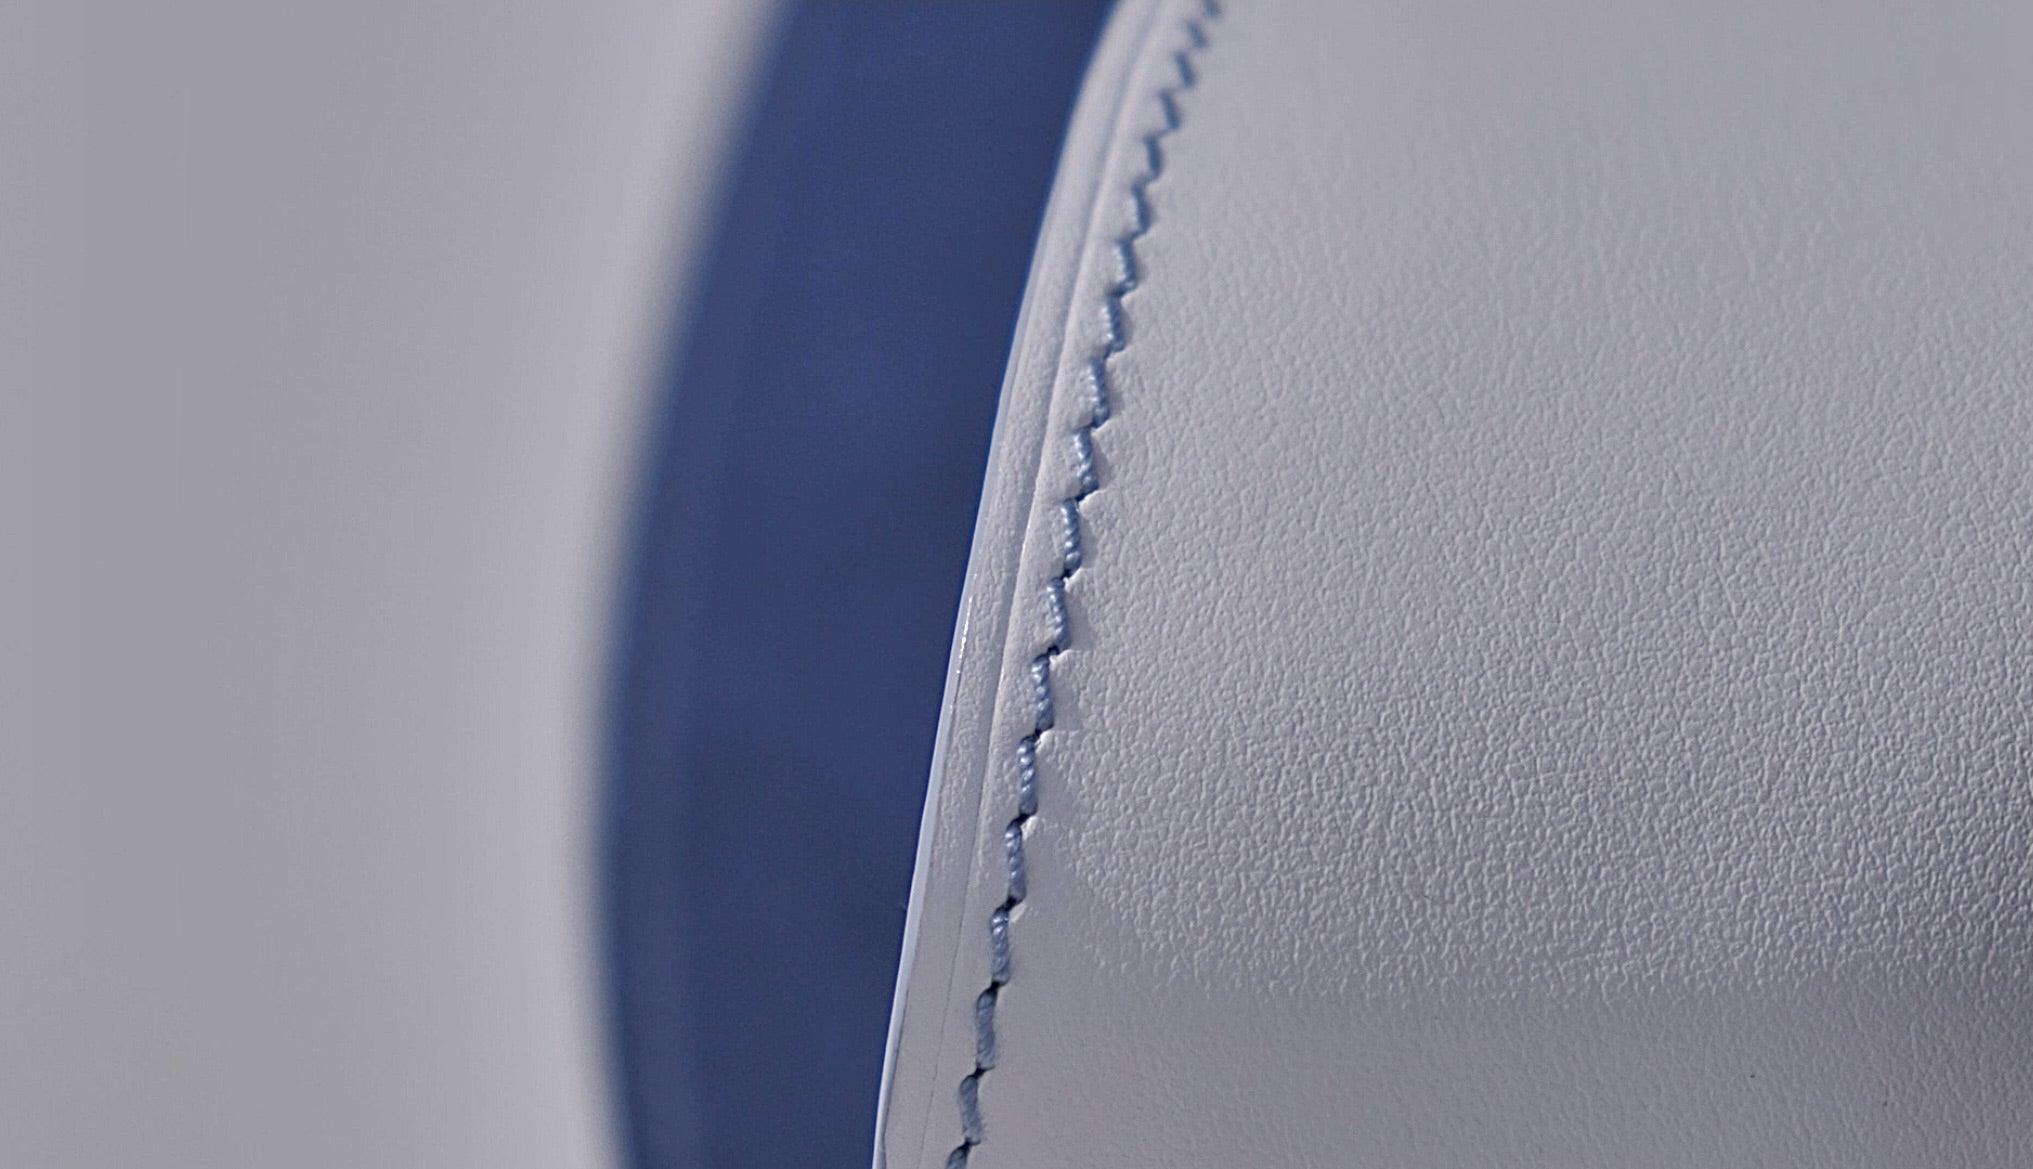
Choose and order in the required quantity of materials - the required type of leather and in the right thickness and colour; the lining, the thread in the right thickness and colour; the type of stitch and stitch width; the sealing paint for edging of the product, matched to the thread colour; primer; glue; ribbon for the loop; hardware
Next step is to sew a prototype and make sure it fits well. Usually, it is necessary to sew 3-4 prototypes to make sure everything fits perfectly
Develop a brand book with the designer and order a stamp
To sew a batch, special knives in the form of patterns need to be ordered at the factory which cut out the parts. Leather is not cut with scissors but cut by hand with a knife, which is very time-consuming and not ideal. Therefore, to achieve the perfect effect, special knives are used that cut out parts under pressure in 1 second
Stamping the logo
Bevelling the edge of the product (thinning, removing a layer of leather)
Cutting alcantara manually according to the pattern and cutting
Duplication (thermal bonding of two layers: leather and alcantara)
Scoring (parallel cut line along the edges of the product) 415 cm
Edge polishing
Gluing and sewing all the parts together
Applying the primer, and the sealing glossy paint for edging of the product

